The Summer Garage Door Tune-Up Checklist for GTA Homeowners
A garage door is the largest moving part of most homes, and in the Greater Toronto Area it works hard all year, through humid summers and deep-freeze winters alike. The quiet stretch of early summer is the best time to give it a once-over, because catching a worn roller or a loose bracket now is far cheaper and far less stressful than a breakdown on a January morning.
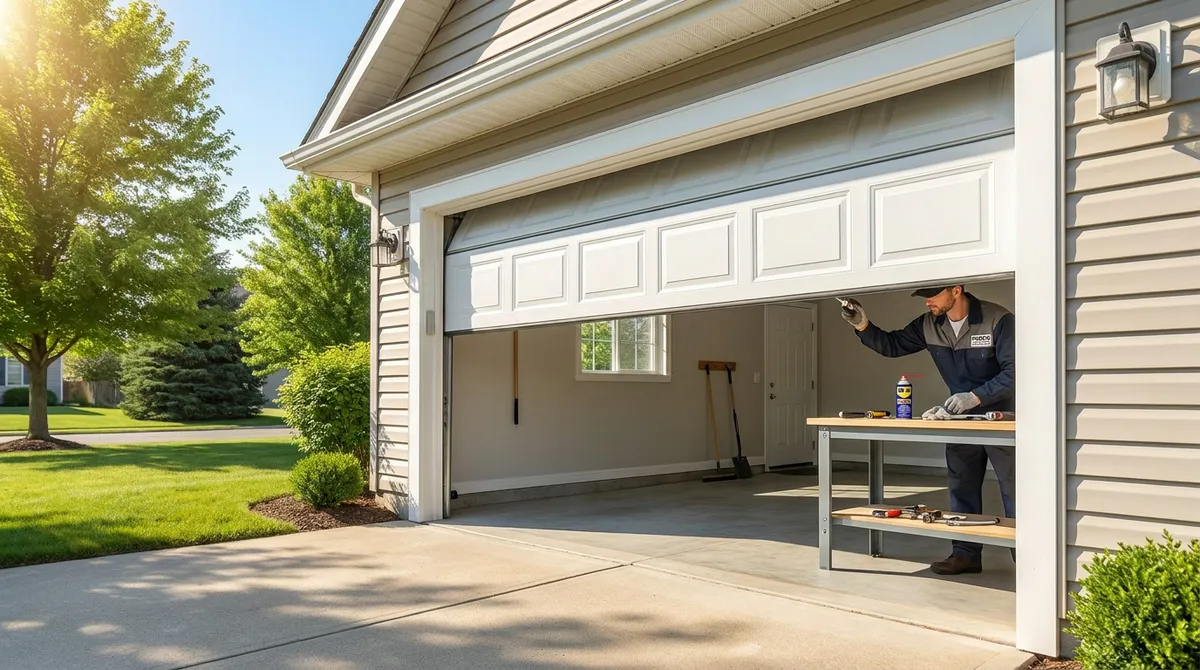
The good news is that a solid tune-up is mostly within reach of any homeowner willing to spend an afternoon on it. This checklist walks through the steps in order, flags the few jobs worth leaving to a technician, and helps you spot the early warning signs that something needs professional attention. If you would rather have it handled, our garage door maintenance service covers all of this in a single visit.
Start With a Visual Inspection
Before you touch anything, just look. Open and close the door once and watch how it moves, then with the door down, walk the length of both tracks and look closely at the hardware. You are checking for anything that looks worn, loose, bent, or out of place, and you will be surprised how much a careful five-minute look reveals.
Pay attention to the parts that take the most strain over thousands of cycles a year. A frayed cable or a cracked roller is something you want to find on your own schedule, not when the door gives out.
Work through this quick list:
- Rollers - look for cracked, chipped, or wobbling wheels that no longer spin smoothly
- Cables - check for fraying, rust, or strands starting to separate
- Springs - look for gaps, rust, or stretching in the torsion spring above the door
- Weather seal - check the bottom rubber and side seals for cracks or gaps
- Mounting hardware - scan for loose or missing bolts on the brackets and hinges
- Tracks - look for dents, bends, or debris sitting in the channel
If you spot a frayed cable or a damaged spring, stop there and book a repair rather than operating the door further. Those components are under high tension and are the leading cause of serious do-it-yourself injuries.
Run the Balance Test
A balanced door is the single best indicator that the springs are doing their job. When a door is out of balance, the opener has to drag the extra weight, which wears out the motor and shortens the life of every moving part. The test takes two minutes.
With the door closed, pull the red manual-release cord to disconnect it from the opener. Then lift the door by hand to about waist height and let go. A properly balanced door will stay roughly where you leave it. If it slides down or rises on its own, the spring tension is off.
This is also a good moment to listen for grinding or popping as you lift, which can point to worn rollers or a spring problem. Adjusting spring tension is not a homeowner job, so if the door fails the balance test, leave the springs alone and call a technician. A door that is straining its springs is often the same one that ends up with a spring about to break.
Lubricate the Moving Parts
Lubrication is the highest-value fifteen minutes in the whole tune-up. A dry door is a noisy door, and friction quietly grinds down rollers, hinges, and bearings. If your door has started squealing or rumbling, dry parts are usually why, and a proper lube job often fixes strange garage door noises on its own.
Use a silicone-based or lithium-based garage door lubricant, not a general penetrating spray. Penetrating sprays clean and loosen but evaporate quickly, so they make a poor long-term lubricant. Apply a light coat to the hinges, the roller stems and bearings, and the springs, wiping away any excess.
One thing to skip: do not grease the inside of the track. The rollers are meant to roll along a clean, dry track, and grease there just collects dirt and grit. Wipe the tracks clean with a dry cloth instead.
Check the Safety Features
Modern garage doors have two safety systems, and both deserve a quick test every tune-up because a failure here is a genuine hazard for kids and pets. The first is the pair of photo-eye sensors near the floor on each side of the opening. Wipe the lenses clean, confirm they are aligned so their small indicator lights are steady, and make sure nothing has bumped the brackets out of position.
The second is the auto-reverse force setting. With the door open, lay a solid object such as a length of wood flat on the floor in the door’s path, then close the door with the opener. When the door touches the object it should stop and reverse. If it keeps pushing or does not reverse cleanly, the force setting needs attention.
If either safety test fails and a quick cleaning or realignment does not fix it, have a technician look at it. These systems are what stand between a heavy door and whatever is underneath it.
Tighten, Clean, and Know When to Call a Pro
Finish by tightening the bolts and brackets you flagged during the inspection, using a socket wrench and a firm hand rather than maximum force. Thousands of open-and-close cycles a year slowly work hardware loose, and snug brackets keep the tracks aligned and the door running true. Give the tracks and the door surface a wipe while you are at it.
Knowing where the homeowner steps end is the most important part of the whole checklist. Tightening, cleaning, lubricating, and testing are all fair game. Adjusting springs, replacing cables, or forcing an unbalanced or off-track door are not, because those involve parts under high tension that can cause real injury.
If your tune-up turns up a worn spring, a frayed cable, a door that fails the balance test, or a safety reverse that will not behave, that is your cue to book professional garage door repair. A technician will handle the high-tension work safely and confirm the whole system is sound.
A yearly tune-up is the cheapest insurance your garage door will ever get. If you would rather skip the afternoon of work or your door is already showing warning signs, book a maintenance visit online or call us at (647) 930-7997 and we will get it summer-ready and running smoothly.