How to Test Your Garage Door Auto-Reverse Safety Feature in 5 Minutes
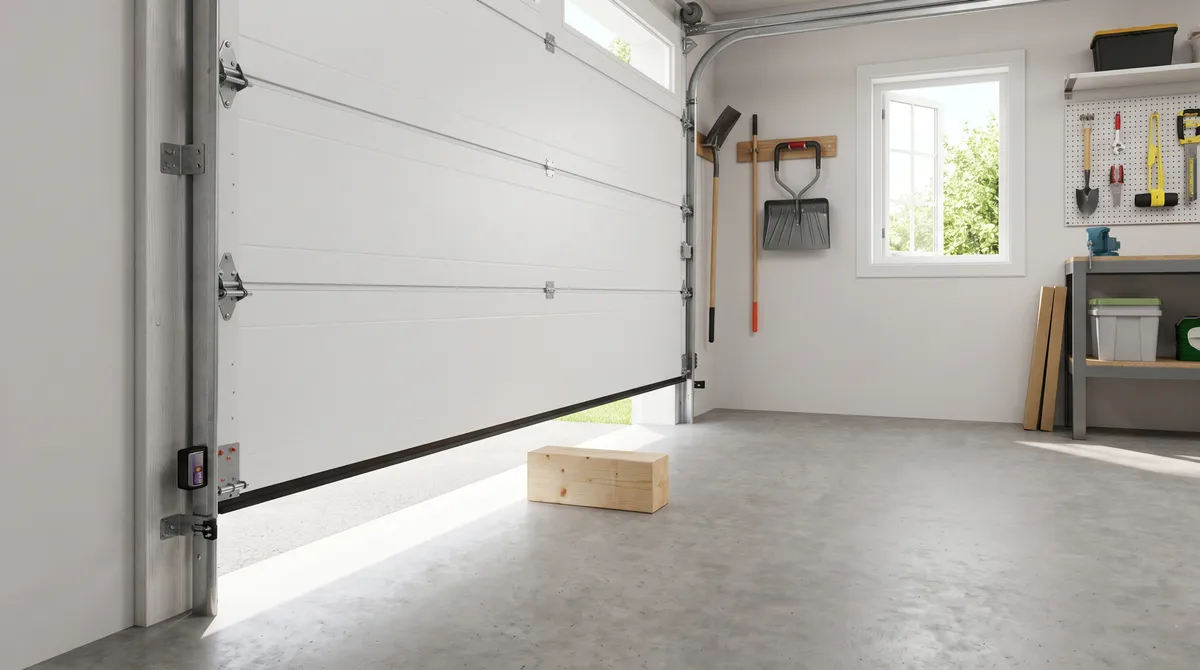
Two quick tests confirm whether your garage door’s auto-reverse safety feature is working, and together they take about five minutes. One checks the photo-eye sensors, the other checks the force reversal, and every door should pass both.
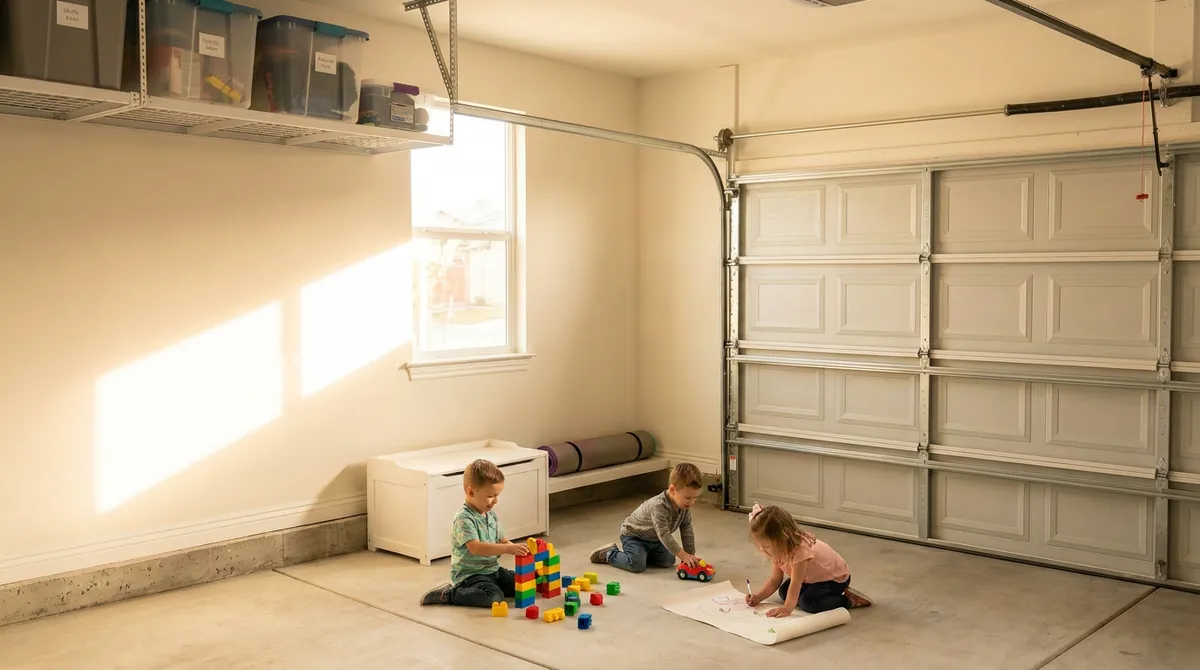
This matters more than most homeowners realise. The auto-reverse system is what stops a heavy door from closing on a child, a pet, or a car, and it can fail silently, so a door that looks fine may not actually be protecting anyone. Here is how to test it properly and what to do if it falls short.
Why Test the Auto-Reverse Feature?
A garage door is the heaviest moving object in most homes, and the auto-reverse system is the safeguard that keeps it from becoming dangerous. Since 1993, every residential opener sold in North America has been required to include it.
There are two independent safety mechanisms, and a door needs both working. The photo-eyes stop the door before it touches an obstruction, and the force reversal stops it if it makes contact. Either one can drift out of adjustment over time without any obvious warning, which is exactly why a regular test is worth the five minutes.
Test 1: The Photo-Eye (Beam) Reversal
The first test checks the infrared sensors near the floor on each side of the doorway. These create an invisible beam that should reverse the door the instant anything breaks it.
To run the test:
- Open the door fully using the remote or wall button.
- Press the button to close it, then immediately wave a long object, like a broom handle, through the beam near the floor.
- Watch the door. It should stop and reverse back to open as soon as the beam is broken.
A door that keeps closing after the beam is interrupted has failed this test. The most common reasons are dirty or misaligned sensors, which are usually a quick fix.
Test 2: The Mechanical Force Reversal
The second test checks the opener’s force setting, which reverses the door if it meets resistance on the way down. This is the backup for anything the beam does not catch.
To run the test:
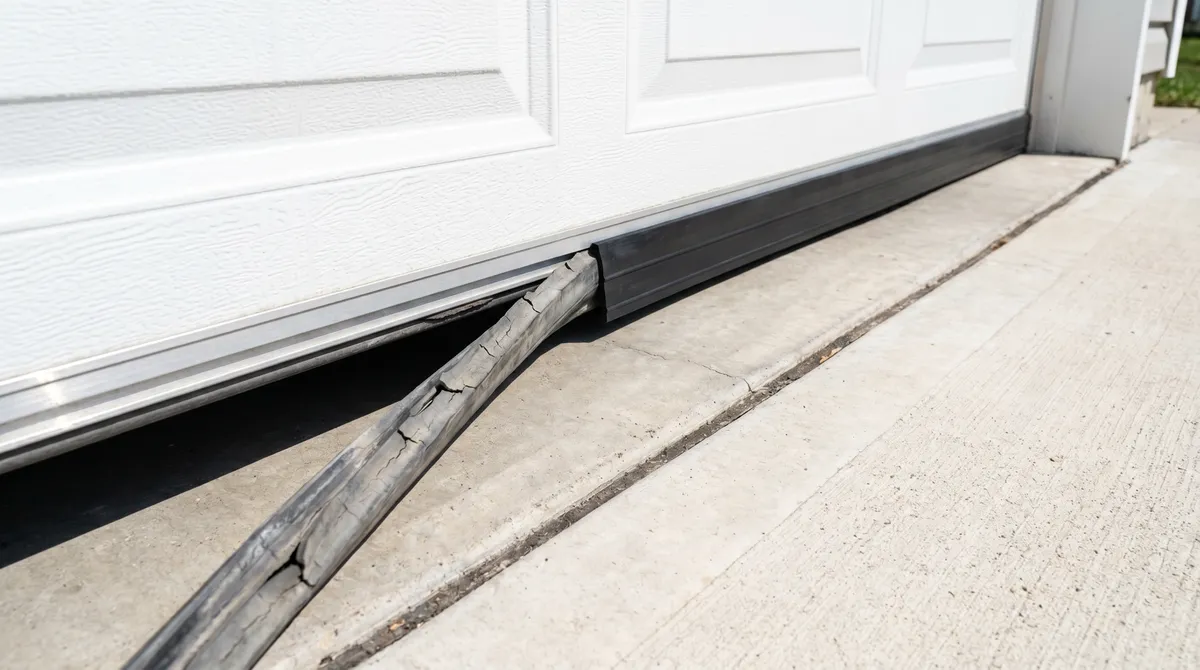
- Lay a solid object on the floor in the door’s path, such as a flat length of two-by-four wood.
- Close the door with the opener and watch what happens when it touches the object.
- Confirm it reverses. The door should stop and go back up promptly once it makes contact.
If the door keeps pushing down on the object, crushes it, or does not reverse cleanly, the force setting is too high and the test has failed.
A Note on Testing Safely
Keep your hands and feet clear of the door during the contact test, and use a sturdy object you do not mind marking, such as a spare block of wood, rather than anything fragile or valuable. Never use your foot or hand as the obstruction, since the point of the test is to find out whether the door will stop, and you do not want to discover that it will not the hard way.
What Causes Auto-Reverse to Fail?
Auto-reverse rarely fails all at once. It usually drifts out of spec gradually, which is exactly why a door can quietly stop being safe between one month and the next. Knowing the common causes helps you catch it early:
- Dirty or misaligned photo-eyes from a bump, dust, or a cobweb across the lens
- Sun glare washing out the beam at certain times of day
- A force setting cranked too high, often after someone adjusted it to stop nuisance reversing
- A drifted travel limit that makes the opener think the floor is higher than it is
- Loose or damaged wiring at the sensors
- An aging opener whose logic board no longer reads resistance accurately
Most of these are quick to fix, but each is a reason the monthly test matters. A system that passed last month can fail this month with no obvious warning.
What to Do If a Test Fails
A failed test means the door is not safe to use until it is corrected. Keep children and pets clear of the door, and work through the fix or call a technician.
Photo-Eye Failures
For a beam-test failure, start simple. Wipe both sensor lenses clean, then check that they point squarely at each other and that their indicator lights are steady rather than blinking.
If alignment and cleaning do not restore the reversal, the wiring or a sensor may be faulty, which is a job for a technician.
Force-Setting Failures
For a contact-test failure, the opener’s force and travel-limit dials usually need a small adjustment, and the location is noted in the opener manual. Turn them in small increments and re-test after each change.
One firm rule: never raise the force setting just to stop a door from nuisance-reversing. Doing so disables the very protection the test is checking for. If a careful adjustment does not solve it, have a professional set it correctly.
How Often Should You Test It?
Test both reversal systems at least once a month, and any time the sensors have been bumped or moved. It is the fastest, most important safety check on the whole door, and it folds neatly into a broader garage door safety routine.
A door that reverses unexpectedly during normal use is a related but different issue, often the sensors or settings drifting, which our guide on why a garage door reverses before closing covers in detail.
When to Call a Professional
If your door fails a test and cleaning, realigning, or a careful adjustment does not fix it, the safety system needs professional attention. The same is true if your opener predates 1993 and lacks auto-reverse entirely, in which case it should be replaced.
Our garage door maintenance service includes a full safety check, and we serve homes throughout North York and the GTA. A working auto-reverse system is not optional, so it is worth getting right.
If your auto-reverse is not behaving as it should, book a safety inspection online or call us at (647) 930-7997, and we will make sure your door stops when it needs to.