LiftMaster Opener Troubleshooting: What the Light Codes Mean
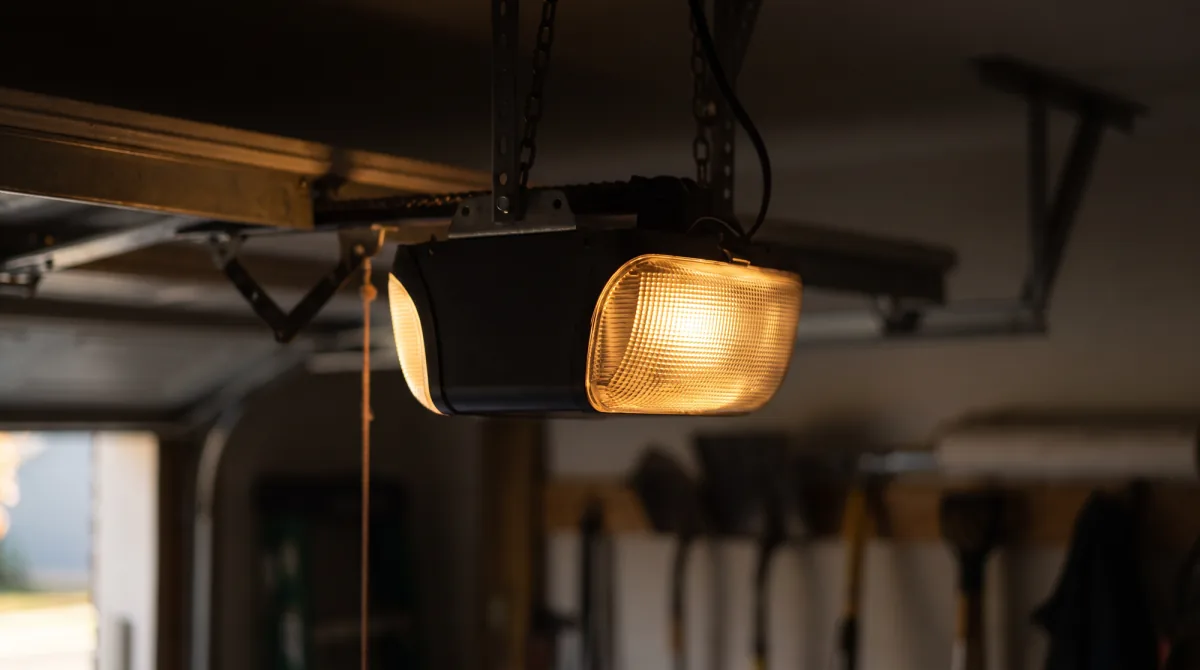
A LiftMaster opener that blinks instead of working is not necessarily broken. The unit has a diagnostic system built into it, and the lights on the powerhead and the sensors are how it reports what is wrong. Most owners never use it, which is why a fault that takes two minutes to clear often turns into a service call.
LiftMaster is the most common opener on GTA homes, and the same handful of faults accounts for the majority of what we see. This covers how to read what yours is telling you, which faults you can clear in a few minutes, and which ones genuinely need a technician.
Start with the model number
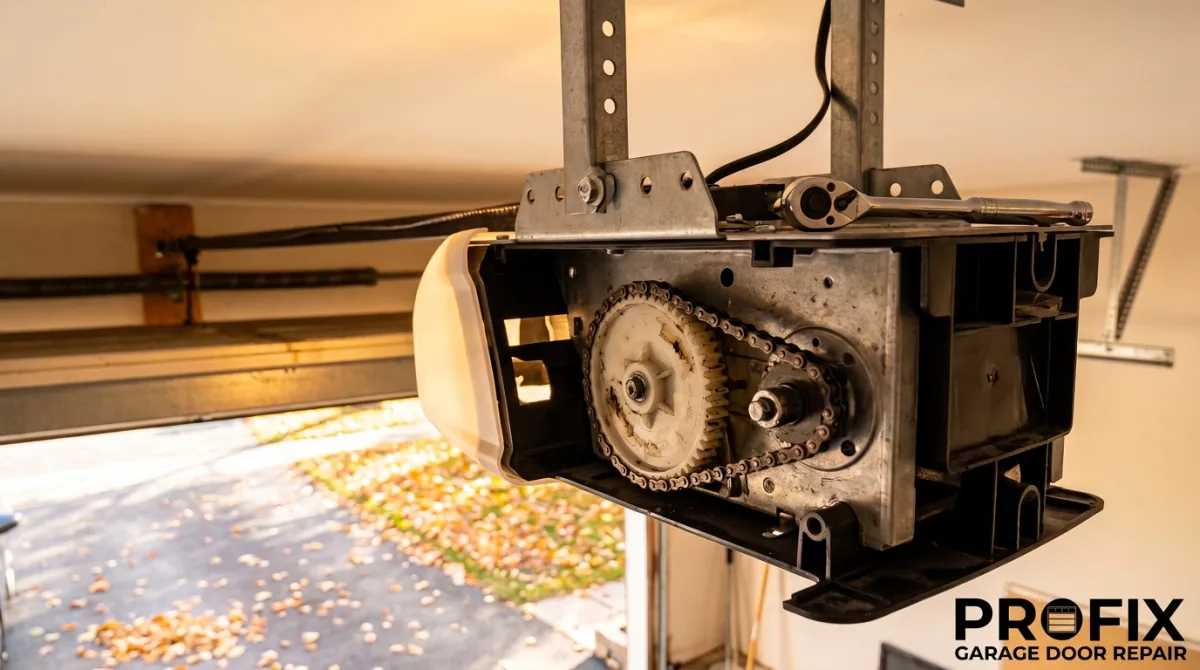
Before reading any code chart, find your model number. It is on a sticker on the powerhead, the motor unit mounted to the ceiling, usually on the side or the back panel.
This matters more than it sounds. LiftMaster diagnostic blink counts and their meanings changed between model generations, so a chart that is accurate for one model can point you at entirely the wrong component on another. Most of the bad advice circulating about LiftMaster codes comes from someone applying a chart from a different generation. The model number is what tells you which chart is yours, and the manual for that specific model is the only reliable source for the numeric codes.
The learn button gives you a second useful piece of information. Its colour identifies the generation, which determines which remotes and keypads will pair with the unit. Yellow is the current Security Plus 2.0 generation. Purple, red or orange, and green indicate progressively older generations. If you are buying a replacement remote, matching it to the learn button colour is the fastest way to avoid buying something that will not work.
The two faults that cause most calls
Two components account for most LiftMaster fault reports, and both are visible from the floor.
The photo-eye sensors. Two small units sit near the floor on either side of the door, about six inches up. One transmits an invisible beam, the other receives it. If the beam is broken, the opener refuses to close the door, because that is the safety system doing its job. The receiving sensor’s indicator will flicker or go out entirely when the beam is lost.
The travel limits. These tell the opener how far to move in each direction. When they drift or are set wrong, the door stops short of the floor and reverses, or stops before fully opening. The opener is not malfunctioning here; it has been given the wrong distance and is doing exactly what it was told.
| What you observe | Most likely cause | Can you fix it |
|---|---|---|
| Sensor indicator off or flickering | Obstruction, dirty lens, knocked bracket | Yes, usually in minutes |
| Door closes partway then reverses | Photo-eye or travel limit | Yes, both are adjustable |
| Door stops short of the floor every time | Travel limit set wrong | Yes |
| Remotes dead, wall console works | Lock or vacation mode, or remote batteries | Yes |
| Motor runs, door does not move | Trolley disengaged, or stripped drive gear | Check trolley first |
| Completely dead, no lights, after a storm | Logic board | No, service call |
| Runs briefly then stops, warm to the touch | Motor thermal cut-out | No, diagnose the cause |
The faults you can clear yourself
These three are safe, cost nothing, and between them resolve a significant share of calls.
- Clear and align the photo-eyes. Look along the beam path for anything sitting in it: a bin, a bike wheel, a coiled hose, even a build-up of cobwebs. Wipe both lenses with a dry cloth. Then check that neither bracket has been knocked, which happens easily when something is leaned against the wall. Both indicators should sit steady once the beam is restored.
- Check the wall console. Most LiftMaster consoles have a lock or vacation function that disables the remotes while leaving the wall button working. It gets pressed accidentally more often than you would think, and it produces a convincing impression of failed remotes.
- Try a power cycle. Unplugging the opener for about thirty seconds clears temporary electronic faults. This is not the same as erasing the memory, which uses the learn button and deletes every paired remote and keypad. Only do that deliberately, for example when clearing remotes you no longer have.
Travel limits are adjustable too, and the method varies by model, so follow the manual for yours. If you are adjusting limits, test the auto-reverse afterwards by placing a solid object such as a length of timber flat on the floor in the door’s path. The door should touch it and immediately reverse. If it does not, stop and call someone, because the safety system is not working correctly.
The faults that need a technician
Three fault types point at components that are not homeowner-serviceable.
Motor thermal cut-out. The opener runs for a moment, stops, and the powerhead is warm. The motor has a thermal protector that shuts it down before it overheats. The important part is why it overheated. Usually the door is out of balance and the opener has been lifting weight the springs should be carrying. Replacing the opener without fixing the balance produces the same failure again.
Logic board failure. The unit is completely dead with no lights after a storm or outage. Once you have confirmed the outlet is live and the breaker has not tripped, a board fault is the likely explanation. Boards are replaceable where the part is still available, which on older discontinued models is the real constraint rather than the cost.
Drive gear and RPM sensing faults. The motor runs, often with a grinding note, and the door does not move. Before assuming the worst, check the trolley: if someone pulled the emergency release cord, the trolley is disengaged and this symptom is identical. If the trolley is engaged and the motor still runs without moving the door, the drive gear has stripped.
Beyond those checks, opener internals involve stored electrical energy and a door under spring tension. We do not publish repair steps for them for that reason. Our guide to what fails on an opener and what it costs to fix covers what each of these repairs involves and the age test for repairing against replacing.
When it is the app, not the opener
MyQ connectivity problems look like opener faults and are not. If the door responds normally to the wall console and the remotes but not to the app, the opener is working and the problem is in the network path.
Work through it in order: confirm the opener is within range of the Wi-Fi, check whether the router was recently changed or its password updated, and confirm the account is still signed in on the phone. A router replacement is the single most common cause, because the opener is still looking for a network name that no longer exists.
This matters for diagnosis because it is easy to conclude the opener is failing when the mechanical side is entirely healthy. Test with the wall console before troubleshooting anything else. If the console works, nothing is wrong with the opener itself.
Where a remote rather than the app is the problem, our remote troubleshooting guide covers pairing and battery faults, and for sensor issues specifically, diagnosing misaligned photo-eyes goes further than the summary above.
When to call
If the sensors are clean and aligned, the trolley is engaged, the outlet is live and the door still will not operate, the fault is inside the unit and it needs diagnosing properly. The same is true of any opener that trips its thermal cut-out repeatedly, because that usually points at the door rather than the opener.
We service LiftMaster across the GTA and check parts availability on older models before quoting, so you are not paying for a diagnostic on a part that is no longer made. Our garage door opener work covers repair, replacement and installation, with a written quote before anything starts.
Call 647-930-7997 or book an appointment, and if your door is stuck open, mention it when you call so we can prioritise it.